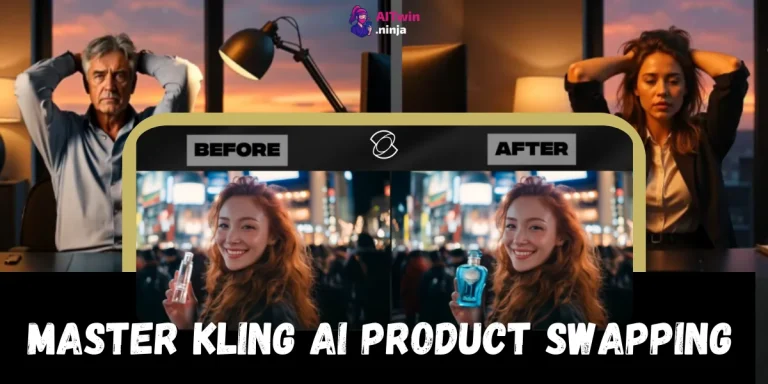
Right, let's sort this mess out. You've probably been there: you generate an epic AI video of your character, then hit generate again for the next scene, and boom—your hero's face has morphed into someone completely different. Frustrating as hell, innit?
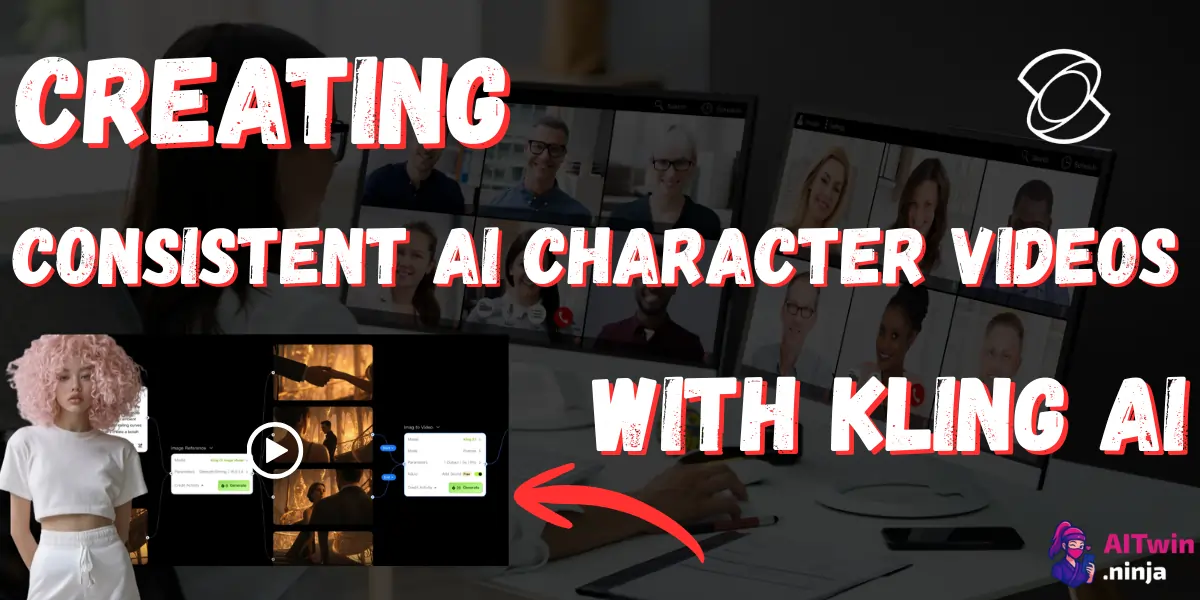
Creating Consistent AI Character Videos with Kling AI isn't rocket science, but it does need the right tricks. Whether you're building a video series, crafting brand content, or just want your AI character to look the bloody same across multiple clips, this guide's got you sorted with three proven methods that actually work.
What's the Big Deal with Consistent AI Character Videos?
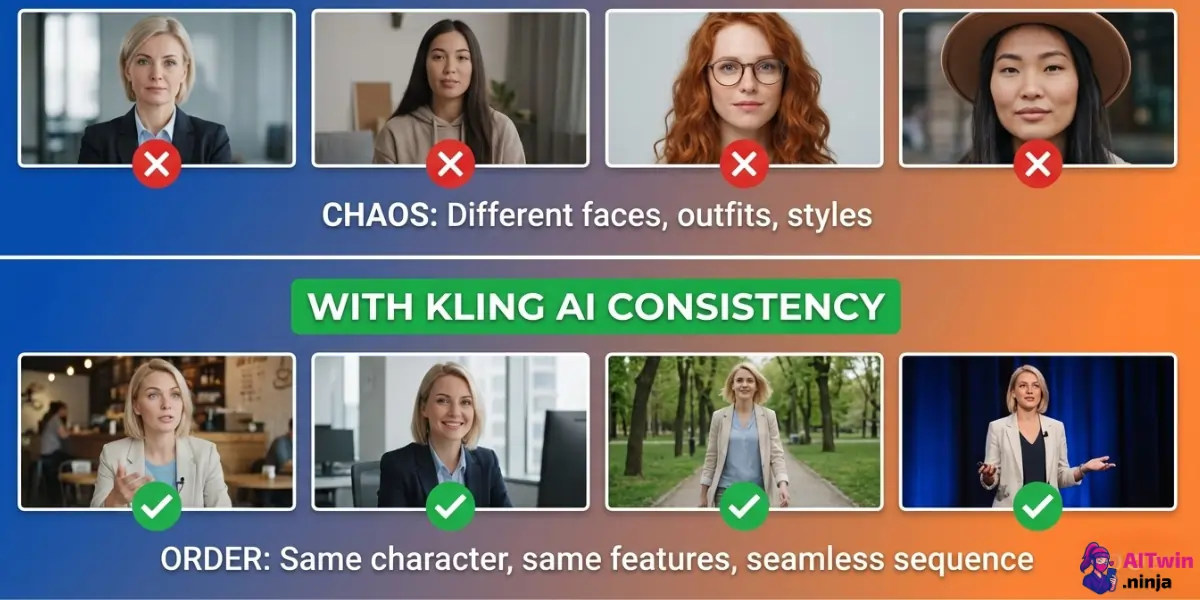
Character consistency matters because nobody wants to watch a story where the main character looks like a different person every 10 seconds. If you're building a YouTube series, social media content, or AI-generated shorts, your audience needs to recognise who they're watching.
The problem? Most AI video generators love playing Russian roulette with faces, bodies, and outfits. One scene your character's a blonde with blue eyes, the next she's brunette with green eyes. Kling AI can handle consistency, but only if you know which buttons to press.
Method 1 – Using Kling AI's Elements Feature (The Quick Win)
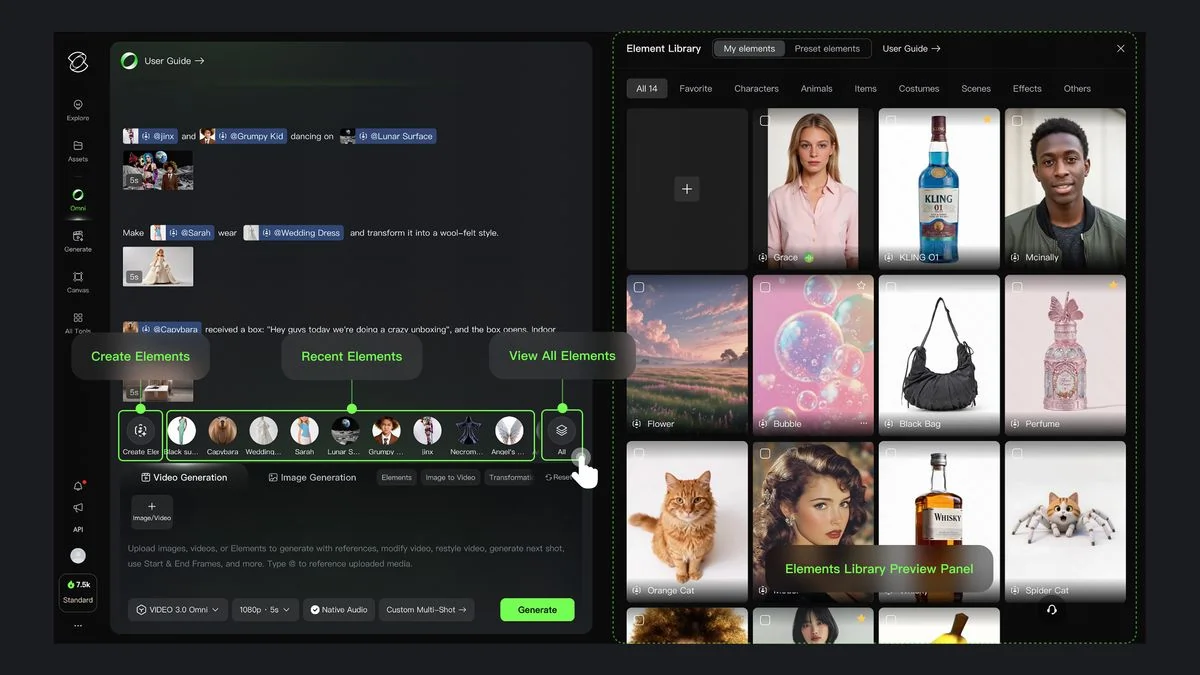
The Elements feature lets you upload 3-4 reference images—your character, background, or objects—and Kling AI blends them into one video. No training needed, just drag, drop, and generate. Perfect for creators who want results fast without faffing about with complex settings.
Step-by-Step: Elements in Action
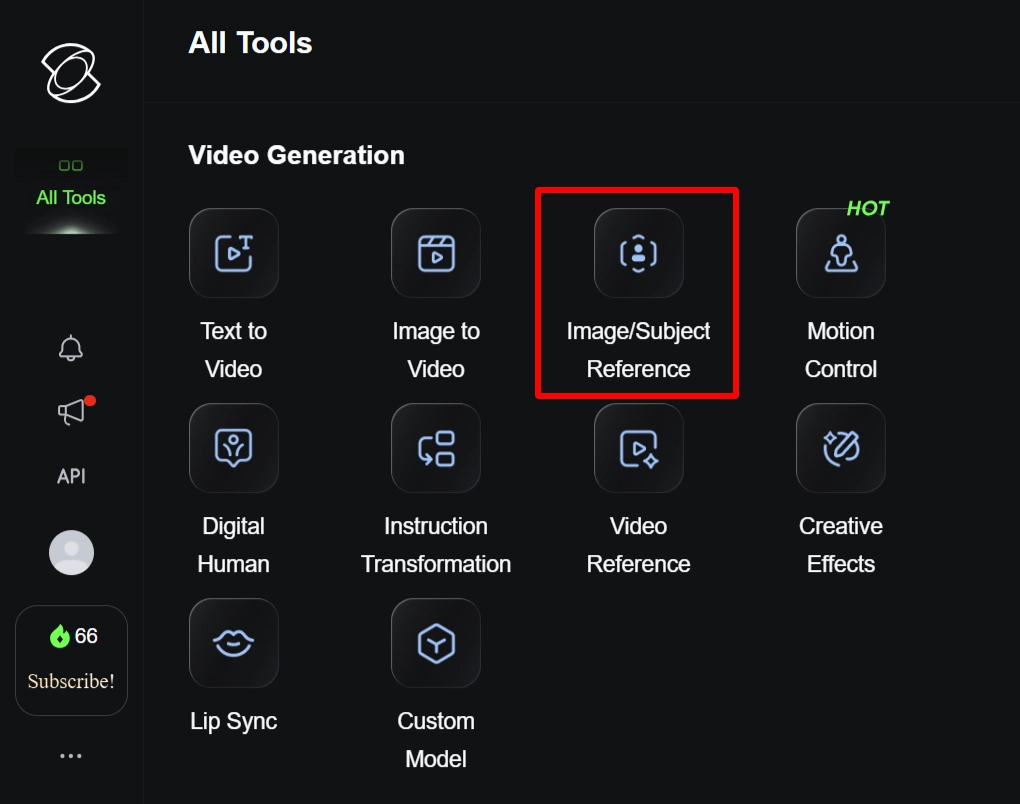
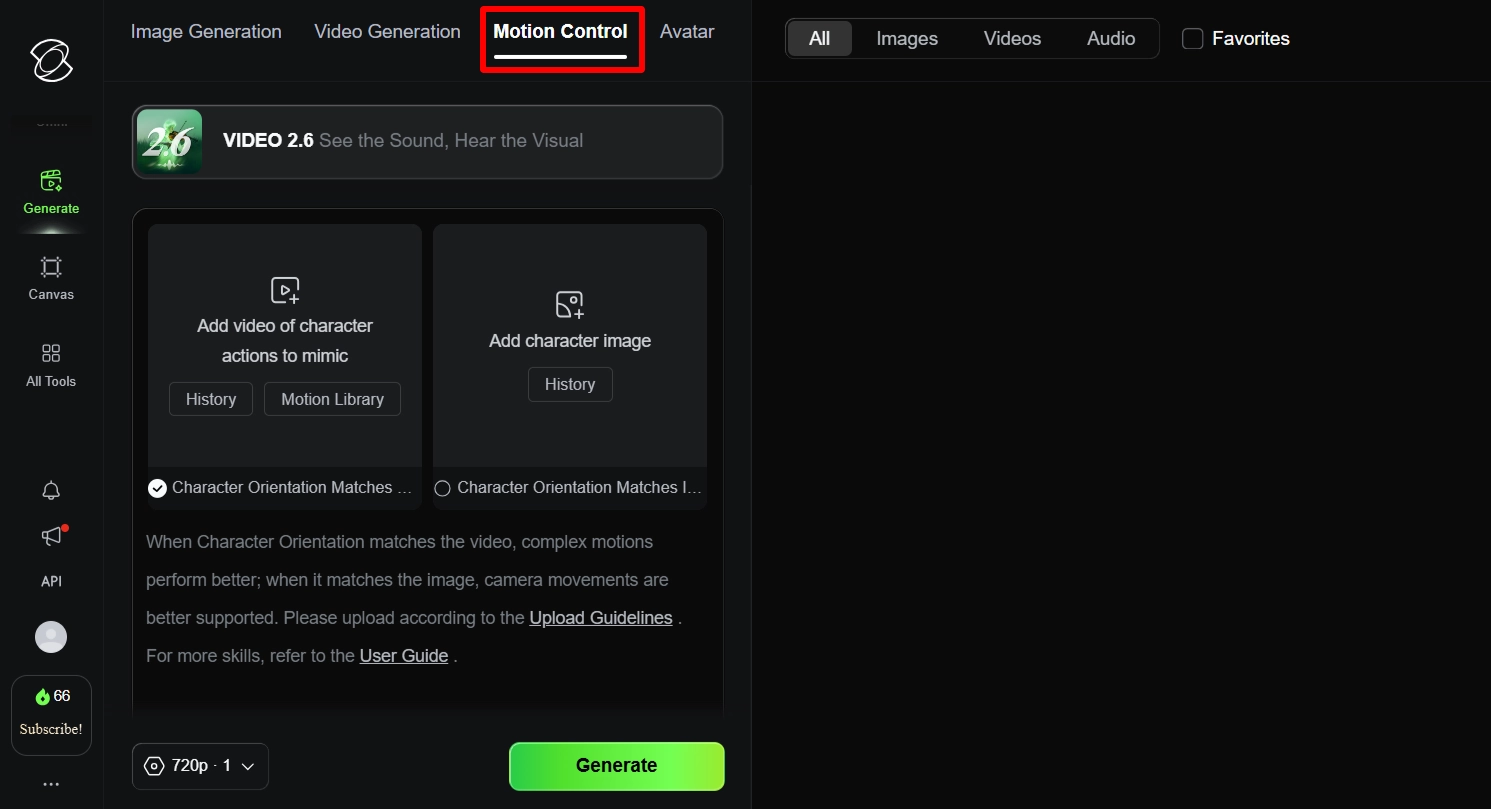
Navigate to Video Generation in Kling AI, then select Elements or Image/Section Reference.
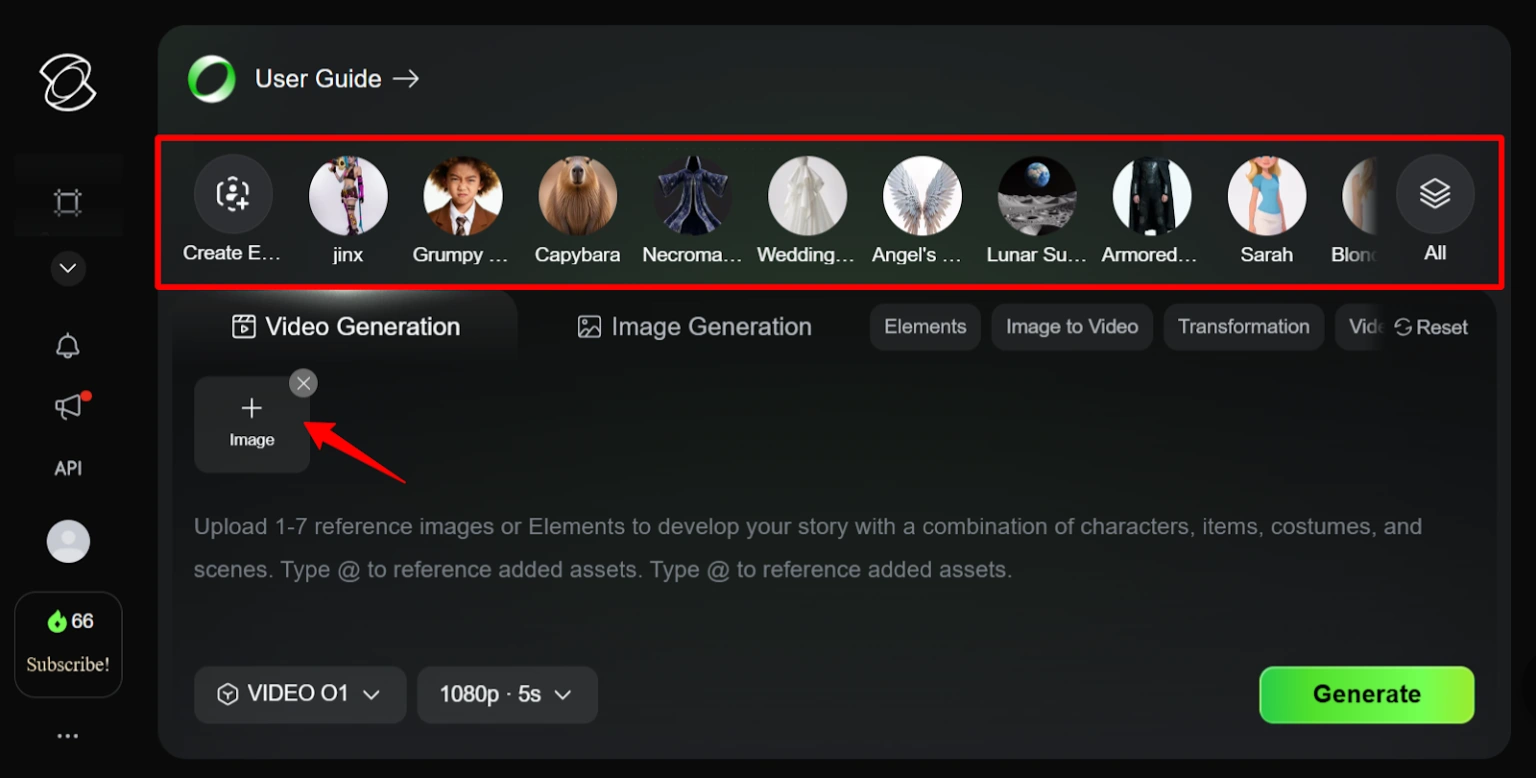
Upload your character reference image first (make sure it's high-res and well-lit). Add a background image if you fancy, then write your scene prompt. Be specific: “character turns head left, smiles, waves at camera.” Hit generate and watch the magic happen.
The AI uses your uploaded images as anchors, keeping your character's face and features locked whilst adding the movement you requested.
💡 Pro Tips for Elements Success
Method 2 – Training Custom LoRA Models (For Serious Creators)
Custom models are like teaching Kling AI who your character is permanently.
Upload 10-20 sample images or short clips of your character, wait 30-60 minutes for training, and boom—you've got a character model saved to your account. Every time you generate a video, just select that model and your character appears spot-on.
How to Train Your Custom Character Model?
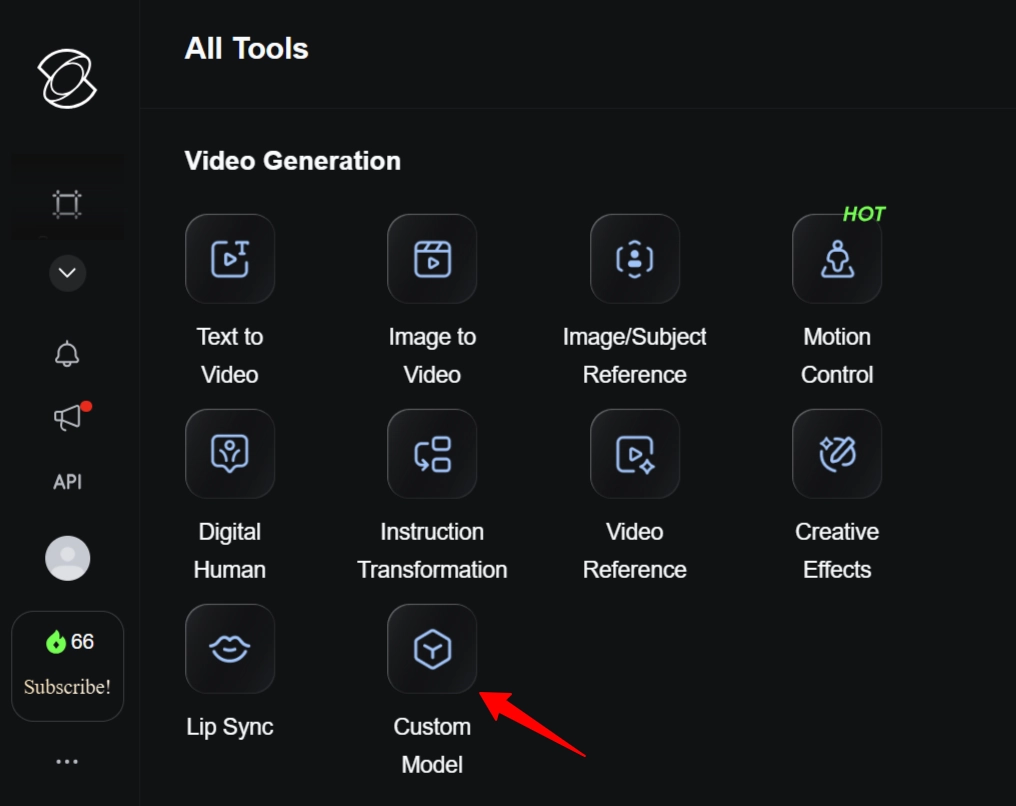
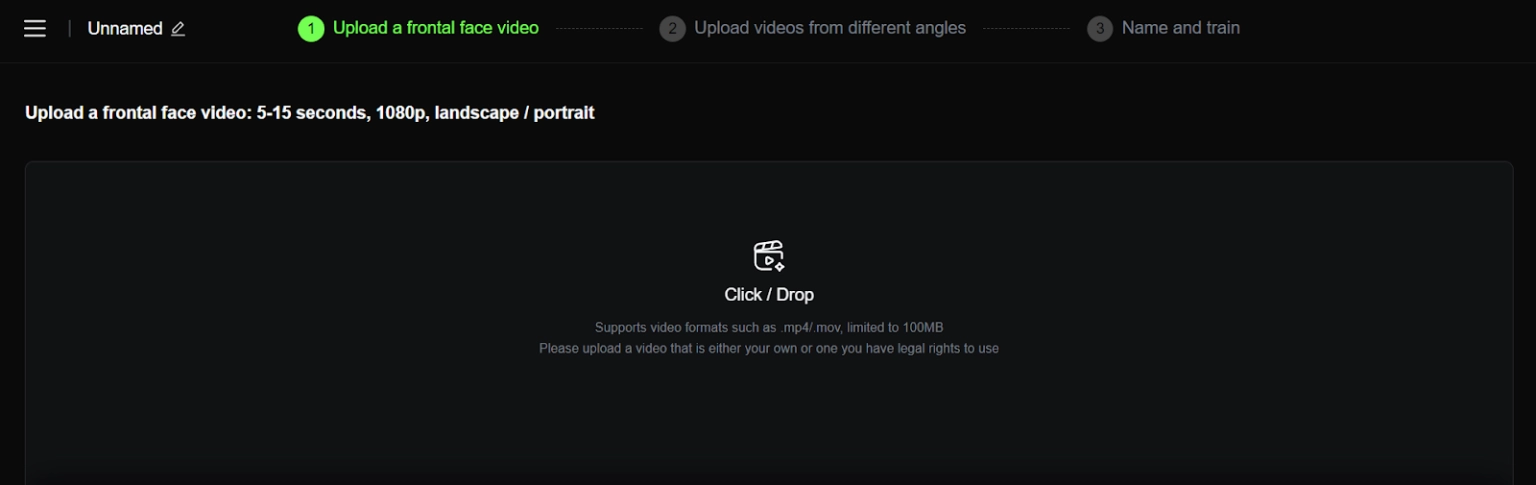
Head to the Custom Models section in Kling AI. Upload 10-20 clear images showing your character from different angles. Label key features: eye colour, hairstyle, clothing style, facial structure. Click Start Training and grab a cuppa whilst the AI does its thing (usually 30-60 minutes).
Once trained, test it with simple prompts: “character standing, front view, neutral expression.” If it looks good, you're golden for more complex scenes.
When Custom Models Beat Elements
Go for custom models when you're making a video series with recurring characters, need the same face across 10+ videos, want outfit changes but identical facial features, or working on commercial projects where consistency isn't optional—it's essential.
Yes, it costs credits upfront (50-100 depending on model complexity), but you'll save time and sanity long-term.
Method 3 – The Screenshot Loop Technique (Sneaky but Effective)
Generate your first video with the character you want. Pause at the clearest frame showing your character's face, screenshot it, then use that screenshot as the reference image for your next video generation. Rinse and repeat for each new scene.
Sounds basic? It is. But it bloody works because you're feeding Kling AI the exact face and features you want, taken from its own previous output.
🧐 Why This Method Slaps?
It's completely free—no model training, no premium features. It works across different Kling AI versions and updates. Plus, you can grab screenshots from multiple angles in one video (front view, side view, three-quarter angle) and build your own reference library.
Camera Movement Tricks for Consistency
Use camera movement prompts like “orbit shot around character” or “dolly zoom on face” to generate one video with loads of different angles. Screenshot each angle, and you've got multiple reference images for future scenes without generating 10 separate videos.
❌ Common Mistakes That Ruin Character Consistency
Stop making these errors and your videos will improve instantly:
Advanced Tricks: Lip-Sync and Multi-Character Scenes
Adding Voice to Your Consistent Character

Kling AI includes a lip-sync feature that matches mouth movements to uploaded audio. Generate your character video first with the action you want, then add your audio file (use tools like ElevenLabs for AI voices if needed). The AI adjusts lip movements whilst keeping the character's face consistent.
Keeping Multiple Characters Consistent
Managing two or more characters? Use separate Element slots for each one, or train individual custom models for your main cast. Keep characters in distinct outfits or colours—helps the AI distinguish who's who when they're in the same frame.
✅ Best Practices: Workflow That Actually Works
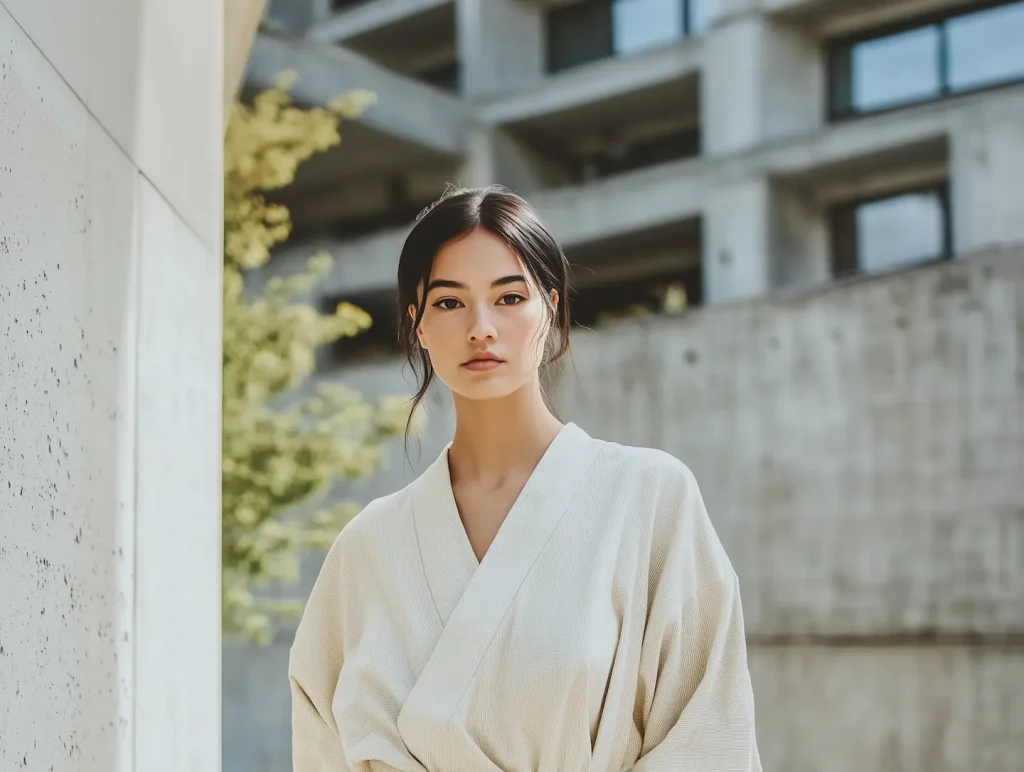
Start with one solid reference image: high-res, well-lit, clear facial features, neutral expression. Test with simple 5-second clips before attempting 30-second cinematic masterpieces. Save every good frame as new reference material for your growing library.
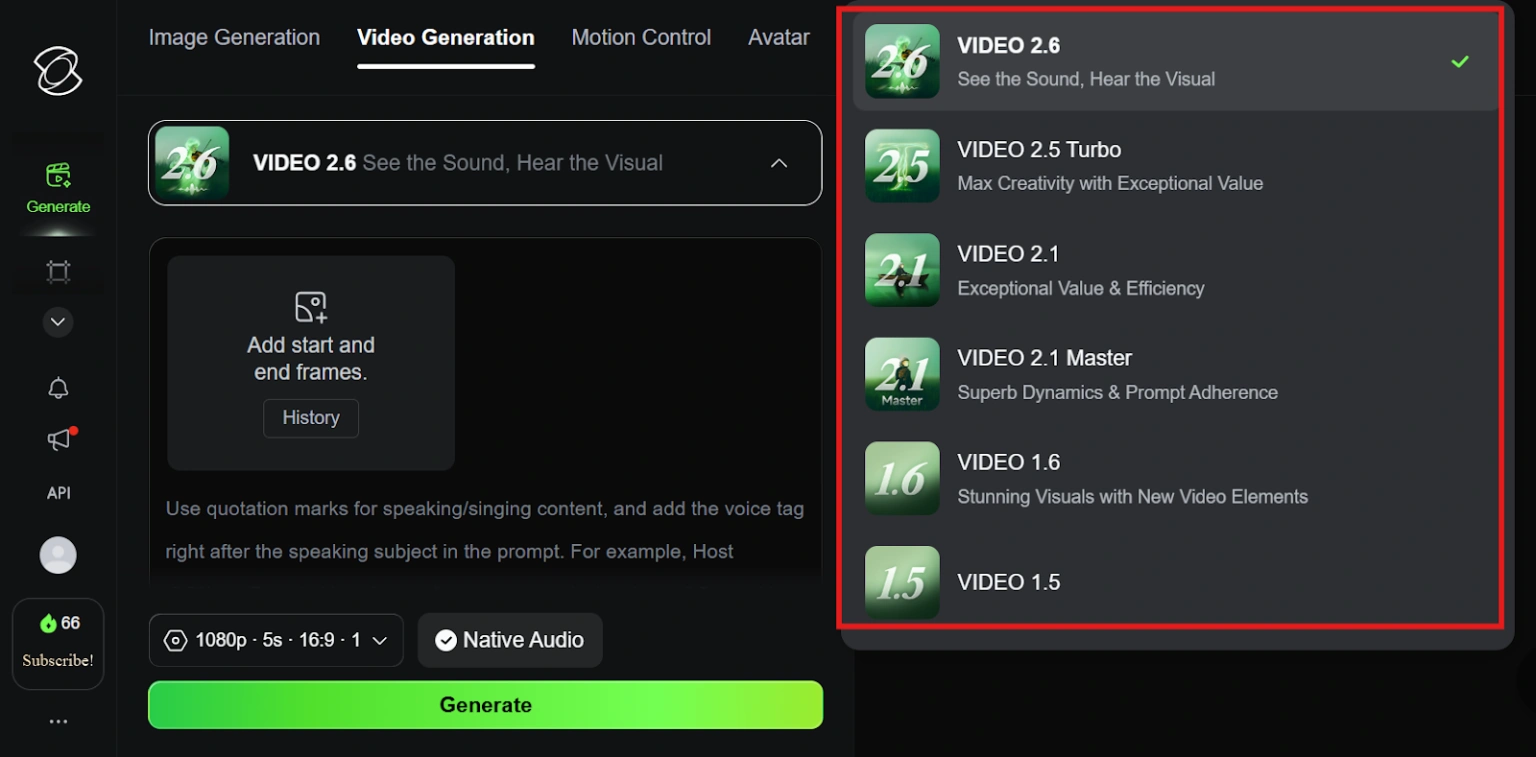
Use Kling 2.5 Turbo Pro or newer models—they handle consistency far better than older versions. Keep a prompt template for your character's core description saved in a doc, so you're not rewriting “blonde hair, blue eyes, athletic build” 50 times.
✔ Final trick: upscale your finished videos. Minor inconsistencies between scenes get smoothed out when you bump the resolution, making subtle differences less noticeable.
Kling AI Pricing and Credits for Character Videos
The free tier gives you 66 credits daily—roughly 6-7 video generations depending on length and settings. Each character video costs 10-15 credits (5-second clips at the lower end, longer or higher-quality at the top).

Custom model training runs 50-100 credits depending on complexity. If you're serious about consistent character content, subscription plans offer better value than constantly buying credit packs. Prices start around $6.99 monthly for basic plans, scaling up for pro features and higher credit allowances.
Wrap-Up: Your Consistent Character Checklist
You've got three solid methods now: Elements for quick wins, Custom Models for long-term projects, and the Screenshot Loop for budget creators. New to Kling AI? Start with Elements. Making a series? Train a custom model. Want free results? Screenshot loop all day.
Start simple, build your reference image library as you go, and test each method to see what fits your workflow. Kling AI 3.0 is dropping soon, with even better character-consistency features, but these techniques work brilliantly right now.
Stop letting random AI faces ruin your videos. Lock down your characters, tell your story, and make content that actually looks professional. Sorted.
AITwin Ninja