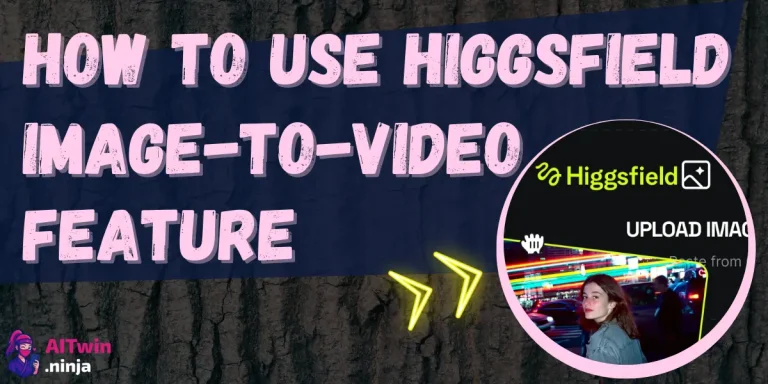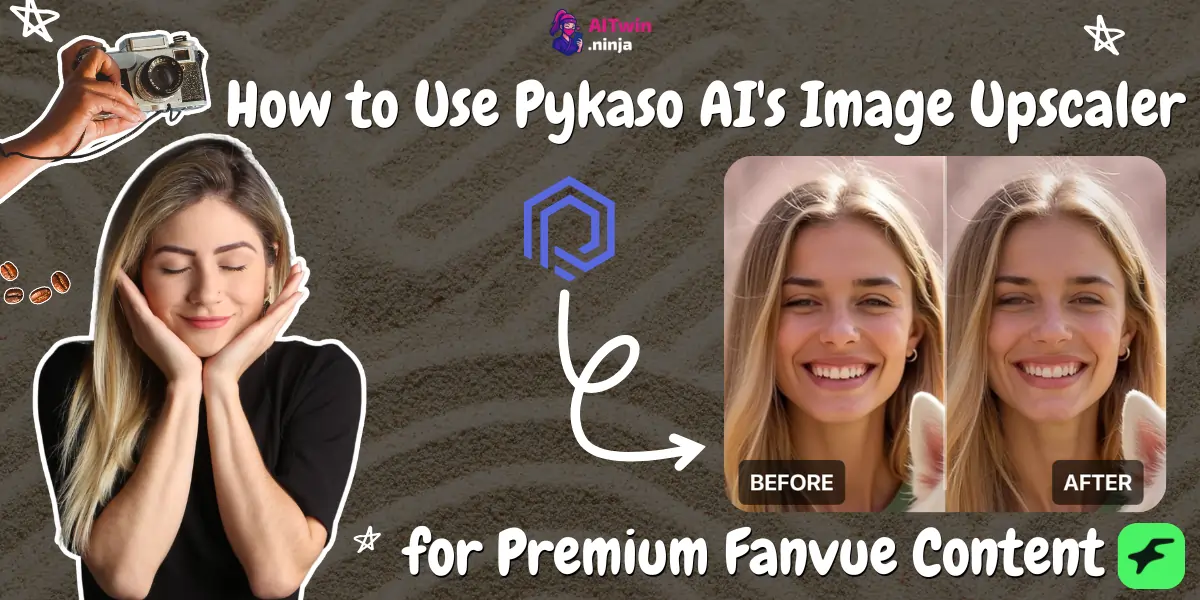
If you're creating AI-generated content for Fanvue, image quality isn't optional — it's what separates free-tier scrollers from paying subscribers.
Pykaso AI's built-in image upscaler is purpose-built for AI-generated visuals, adding realistic detail, sharper textures, and higher pixel resolution that makes your content look professionally produced.
Here's exactly how to use it to level up your Fanvue game.
What Is Pykaso AI's Image Upscaler?
Pykaso AI is an ultra-realistic generative AI platform designed for content creators, influencers, and digital marketers. Among its suite of tools — including text-to-image generation, LoRa character training, and AI video creation — the Image Upscaler stands out as a finishing tool that transforms standard AI outputs into high-resolution, photorealistic images.
Unlike generic upscalers, Pykaso's version is specifically optimized for AI-generated content. It doesn't just stretch pixels. It intelligently reconstructs skin textures, sharpens fine details, and enhances lighting — eliminating that telltale “AI plastic” look that can instantly turn off Fanvue subscribers.
Why Image Quality Matters on Fanvue?
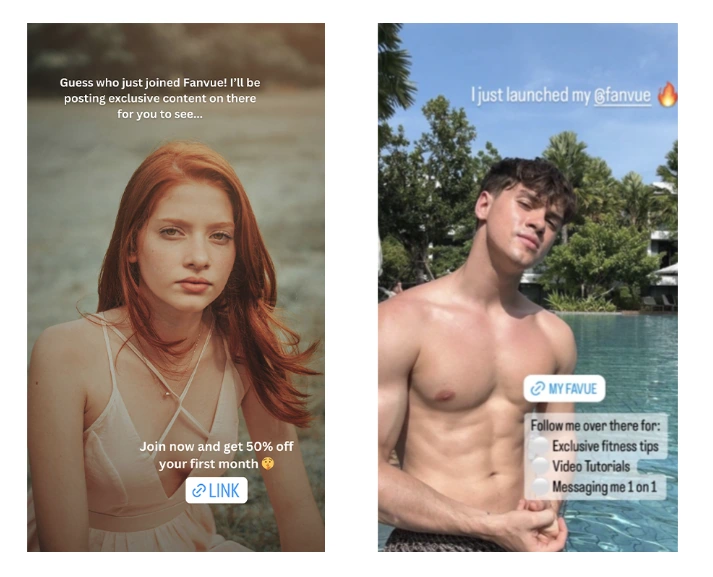
Fanvue is a subscription-based platform where creators monetize exclusive content through paywalled posts, direct messaging, and premium media. Whether you're a human creator or running an AI-generated persona, your subscribers are paying for a premium experience. Blurry, low-resolution images signal low effort and lead to higher churn.
The rule is simple: If your content doesn't look worth paying for at first glance, it won't convert — no matter how good your character or storyline is.
High-resolution visuals also perform better across Fanvue's discovery features and can be repurposed for Instagram or TikTok teasers that funnel followers into your paid page.
Step-by-Step: Upscaling Images in Pykaso AI
Follow these steps to take any AI-generated image from “decent” to “premium-ready.”
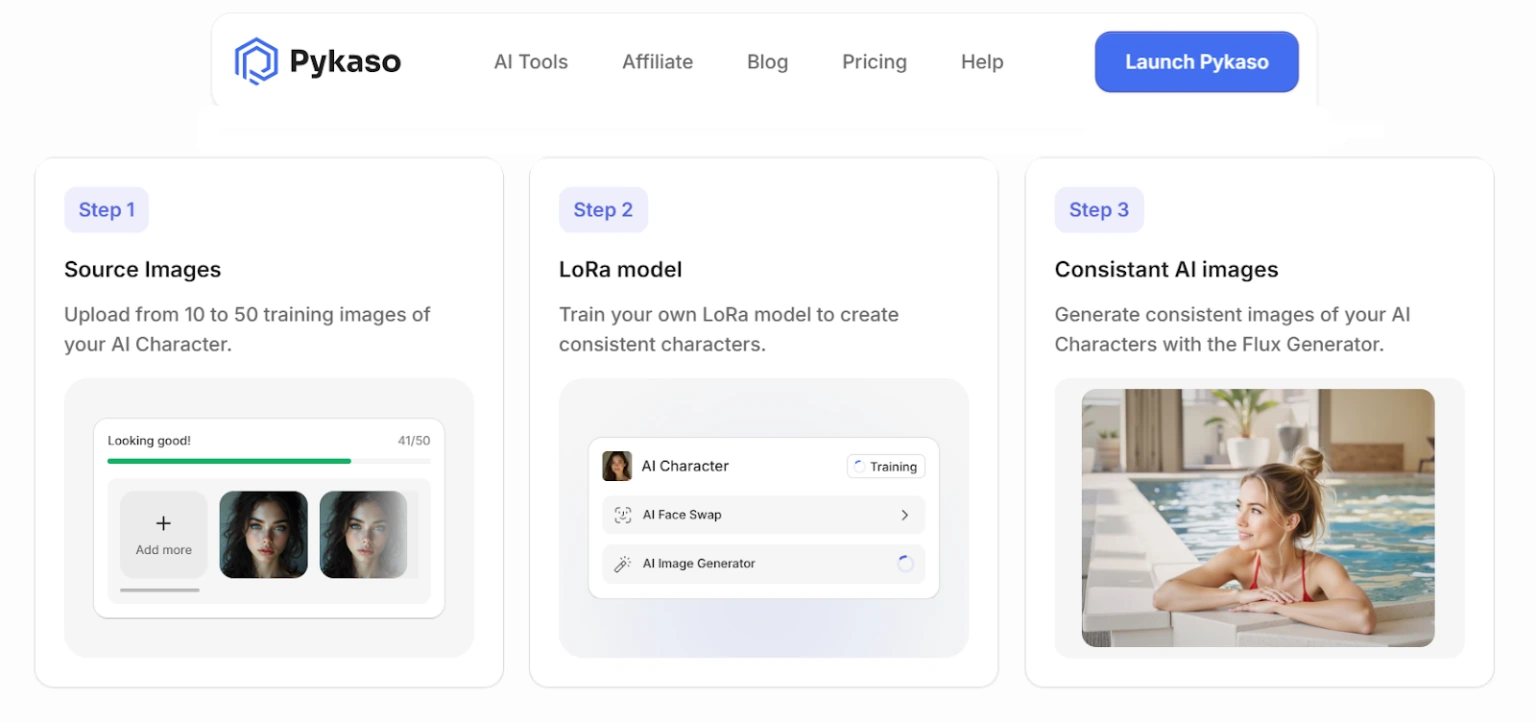
Step 1 — Generate or Upload Your Base Image
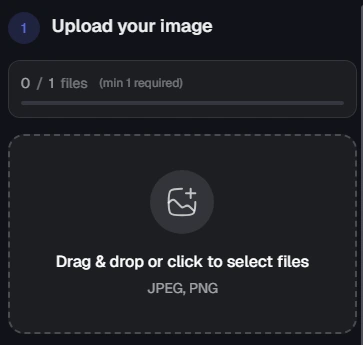
Start by creating your image using Pykaso's text-to-image or image-to-image tools. If you've already trained a custom LoRa model for your Fanvue character, select it to ensure consistency. You can also upload an externally generated image.
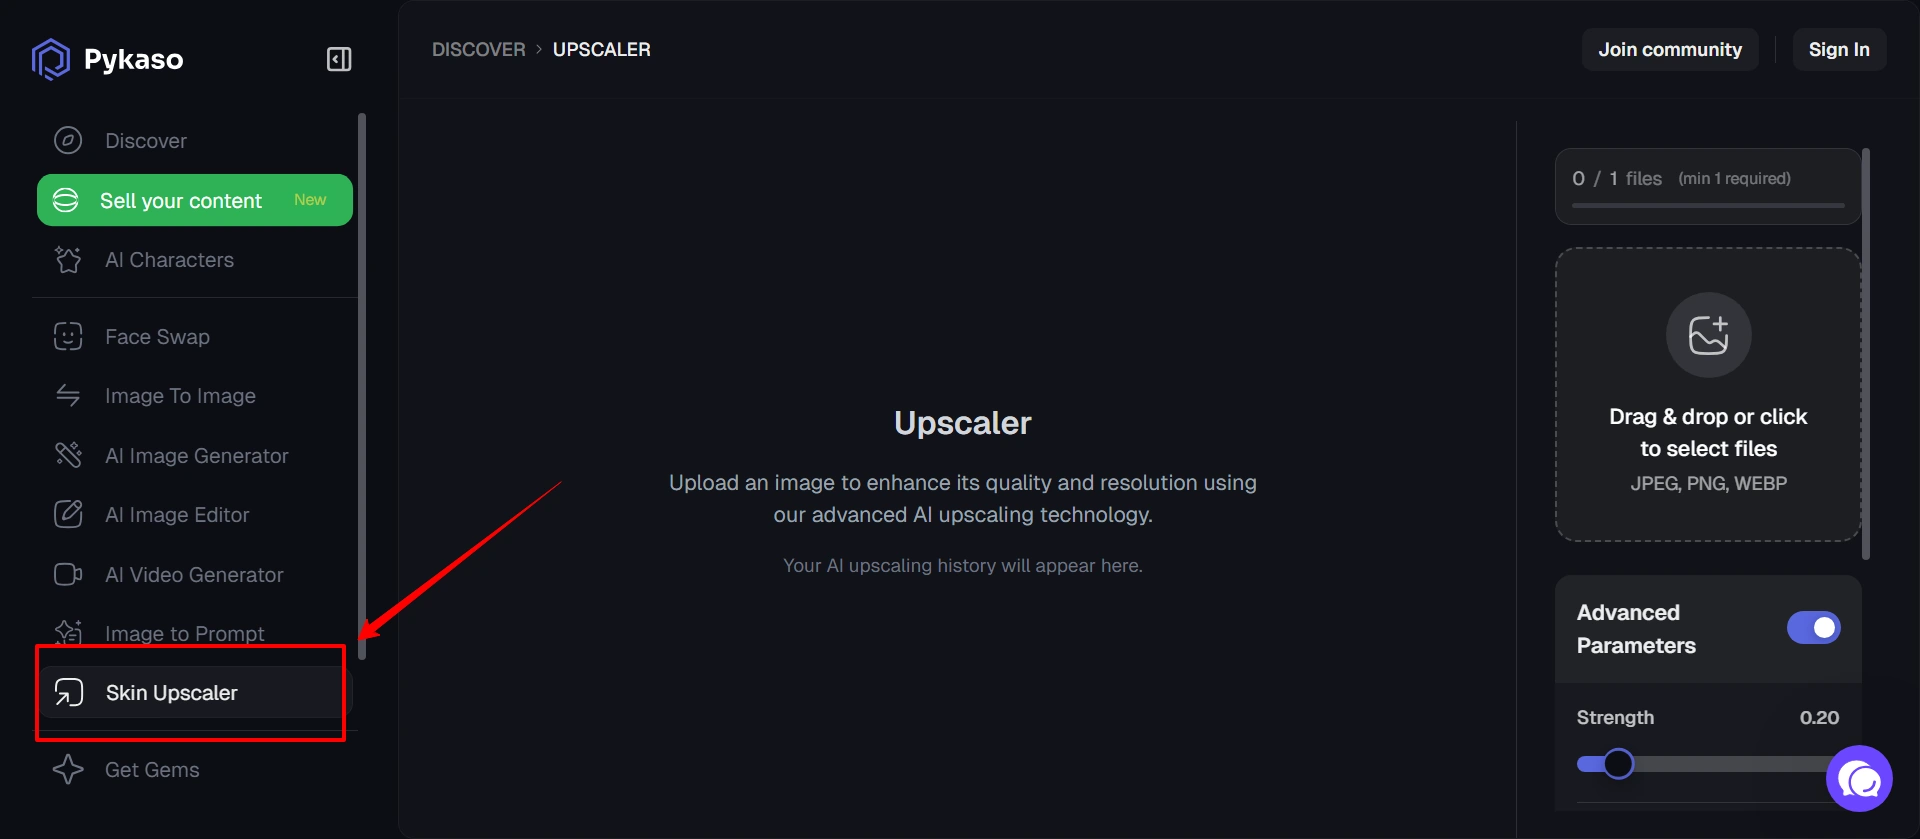
Step 2 — Navigate to the Upscaler
Once your image is generated, click the “Upscale” button directly from the image output screen. Pykaso makes this seamless — no downloading and re-uploading required.
Step 3 — Configure Your Settings
This is where precision matters. You'll see several adjustable parameters:
| Parameter | What It Controls | Recommended Setting |
|---|---|---|
| Strength | How aggressively the upscaler enhances details | 0.4–0.5 for natural results; higher for stylized looks |
| Resolution | Output pixel dimensions | 4 megapixels for Fanvue posts |
| Region Focus | Whether to enhance face only or face + body | Face + Body for full shots; Face Only for close-ups |
Step 4 — Start the Upscale
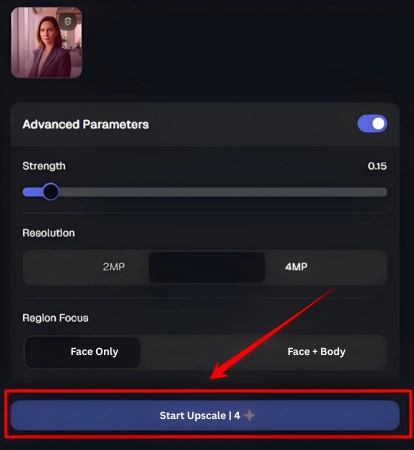
Hit “Start Upscale Now” and let the GPU do the work. Processing typically takes seconds thanks to Pykaso's asynchronous GPU infrastructure, meaning you can queue multiple upscales simultaneously without waiting.
Step 5 — Review and Download
Compare your upscaled image against the original. Look for:
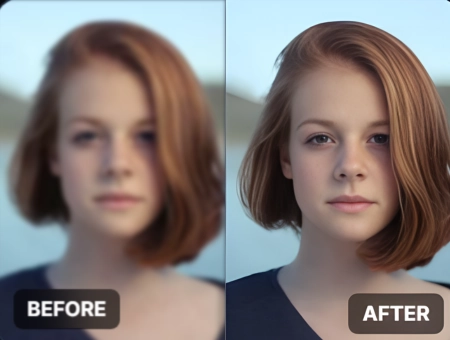
Download the final image and upload it directly to your Fanvue page as premium content.
Pro Tips for Maximum Impact
Getting the most out of the upscaler isn't just about clicking a button. Smart creators follow these practices:
- Always upscale before creating videos. If you plan to convert a still image into a 4K AI video using Pykaso's video generator, upscale the source image first. This dramatically improves animation quality and final output clarity.
- Use the Skin Enhancer as a pre-step. Before upscaling, run your image through Pykaso's AI Skin Enhancer to add granular pore detail and realistic lighting. Then upscale. This two-pass approach produces the most photorealistic results.
- Test low strength first. If your base image already looks solid, start with a strength of 0.3–0.4. Over-processing can introduce an uncanny “too perfect” look that experienced Fanvue subscribers will notice.
- Batch process for consistency. Launch multiple upscale jobs simultaneously using Pykaso's async processing. This is essential when preparing a content drop of 10–20 images for a Fanvue post series.
- Match resolution to platform specs. Fanvue supports high-res uploads, but oversized files can slow loading. Aim for 4 megapixels as the sweet spot between quality and performance.
Pykaso AI Upscaler vs. Generic Upscalers
Not all upscaling tools are created equal. Here's how Pykaso stacks up for AI content creators:
| Feature | Pykaso AI Upscaler | Generic Upscalers (e.g., Topaz, Picsart) |
|---|---|---|
| Optimized for AI images | ✅ Yes | ❌ Built for photos |
| Skin texture reconstruction | ✅ Advanced | ⚠️ Basic or none |
| Integrated workflow | ✅ Generate → Upscale in one platform | ❌ Requires export/import |
| Async batch processing | ✅ Unlimited simultaneous jobs | ❌ Typically sequential |
| Character consistency preserved | ✅ Works with LoRa models | ❌ No character awareness |
| Cost | Gem-based (1 Gem ≈ $0.10) | Subscription-based |
For Fanvue creators working with AI characters, the integrated workflow alone saves significant time — no juggling between platforms or risking quality loss during file transfers.
How This Fits Into a Fanvue Content Workflow
Here's what a complete content creation pipeline looks like when you combine Pykaso's tools with Fanvue:
- Train your LoRa model using 15–20 reference images of your AI character
- Generate a batch of images using text-to-image with your trained character selected
- Run images through the Skin Enhancer for photorealistic texture
- Upscale each image to 4MP using the steps above
- Convert top performers into 4K video using Pykaso's AI Video Generator
- Upload to Fanvue as a mix of free teasers and paywalled premium content
- Repurpose select images for Instagram/TikTok to drive traffic to your Fanvue page
This pipeline lets you produce a week's worth of premium Fanvue content in under an hour — with every image looking sharp enough to pass as a professional photoshoot.
Final Thought
The difference between a Fanvue page that earns pocket change and one that builds a loyal subscriber base often comes down to visual quality.
Pykaso AI's image upscaler bridges that gap by turning raw AI generations into polished, high-resolution content that subscribers actually want to pay for. It's fast, it's built for exactly this use case, and it integrates directly into the creation workflow — no extra steps needed.
AITwin Ninja